How to Apply Aquarium Background Without Bubbles or Wrinkles

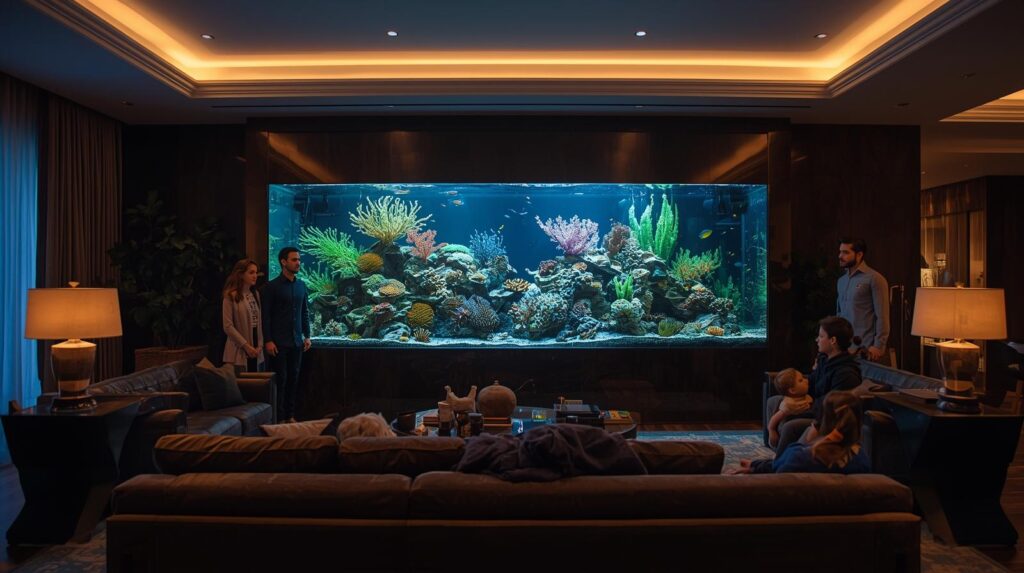
Ever looked at your aquarium and felt like something was missing even though the fish are healthy and the plants are thriving? I’ve been there too, staring at that plain glass wall behind my tank, wondering how to bring it all to life. The truth is, your aquarium background can make or break the entire vibe of your aquatic setup. It’s not just about looks, it’s about giving your fish a cozy, natural-feeling home. In this guide, I’ll show you exactly how to apply an aquarium background the right way, so your tank feels like a true underwater world, not just a box of water. Let’s make your aquarium as stunning as it deserves to be.
What is the Best Way to Apply an Aquarium Background?
The best way to apply an aquarium background is to choose a type that complements your tank’s style, feels natural for your fish, and fits your budget and comfort level with installation. Whether you use an adhesive film, a textured 3D panel, or even paint it yourself, the goal is always the same. bring your aquarium to life.

When I Realized Something Was Missing
I had just finished setting up my new tank. The plants were in place, the water was crystal clear, and my fish had started exploring. But something still felt… off. The back wall of the tank looked plain and cold. It broke the illusion I was trying to create. That’s when I started looking into backgrounds. I didn’t expect it to matter so much, but wow it completely changed the atmosphere once I got it right.
I started with the basics and explored all types of aquarium backgrounds, trying to figure out which one felt the most natural and easy to work with. Each style had its own pros and quirks. Here’s what I learned, and what might help you too.
Adhesive Aquarium Background Films
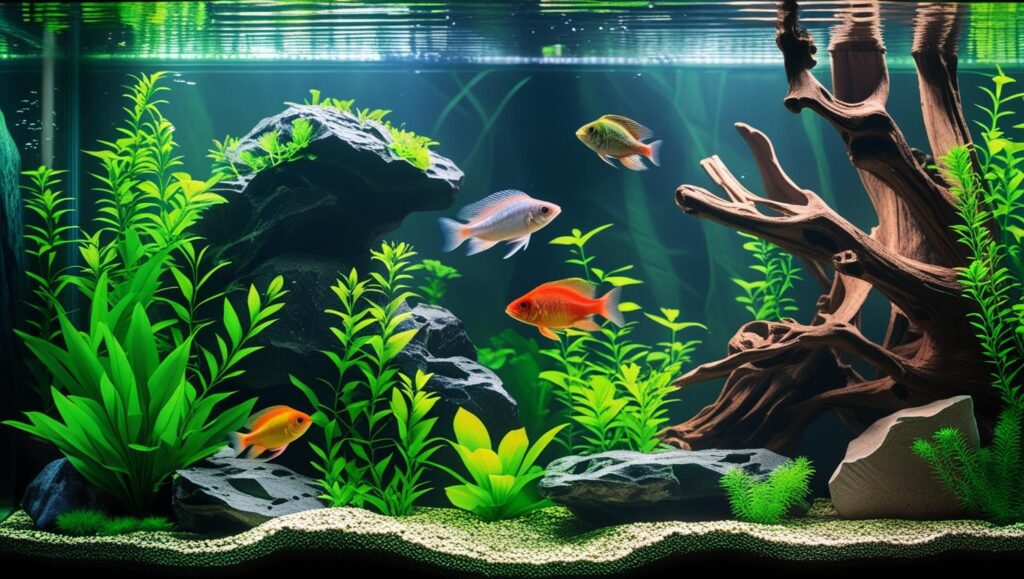
These are printed films with beautiful aquatic scenes. Some mimic rocks or plants, while others have a deep blue ocean look.
I started with one of these. It came rolled up in a tube, and the design was gorgeous, tall aquatic plants with soft lighting and bubbles. Applying it was easier than I expected. After cleaning the back of the tank and carefully pressing it on, the transformation was instant. My tank suddenly looked deeper, more complete, and the fish seemed more relaxed without the harsh reflections on bare glass.
Adhesive films are perfect for beginners. They’re also budget-friendly and easy to switch out later. But you have to apply them carefully. The first time I rushed it, I ended up with air bubbles and a slight tilt in the alignment. I had to redo the whole thing. Lesson learned, take your time, smooth as you go.
Paper Backgrounds
These are thin posters or printed sheets that you tape to the back of the tank. They’re inexpensive and easy to find at most pet stores.
I tried a paper background on a small 10-gallon tank I use for shrimp. It looked fine from a distance, but within a few weeks, humidity near the tank started curling the edges. Eventually, I had to replace it. It’s a quick fix, but not long-term.
Paper backgrounds are okay for temporary setups or if you’re just experimenting with styles. But for permanent tanks, they may not hold up well unless your tank stays in a very dry room.
3D Aquarium Backgrounds
These are thick panels made of foam, resin, or plastic. They have carved textures that mimic rocks, roots, or caves.
I splurged on one of these for my larger tank with angelfish. It was more expensive and definitely heavier, but the result was stunning. It felt like looking into a slice of a riverbed. The fish interacted with the edges and corners of the background like it was part of their world.
The downside? Installation took effort. I had to trim the pieces to fit around my filter tubes, and securing them inside the tank took patience. But once it was done, I knew I’d never go back to flat backgrounds for that tank.
If you want a display piece that truly impresses, 3D is the way to go.
DIY Painted Backgrounds
Painting the back of the tank gives you full control. I did this for my betta tank because I wanted a simple matte black backdrop to highlight the fish’s colors.
It was honestly kind of fun. I used acrylic paint and did two coats on the outside of the tank. The key is to paint the outside, not the inside, so there’s no risk to the fish. The result was sleek, bold, and distraction-free. It took a few hours to dry, but it was worth it.
If you enjoy creative projects and want something unique, painting is a great option. Just use non-toxic paint and take your time.
How to Apply an Aquarium Background the Right Way

Installing a background isn’t hard, but doing it right the first time saves a lot of frustration. It’s all about preparation and patience.
What I Got Wrong First (And Fixed Later)
The first time I applied an adhesive background, I skipped the cleaning step. I figured a quick wipe would do, but tiny dust particles caused bubbles to form underneath the film. Within days, it started peeling. I ended up redoing the entire process, this time with proper cleaning and slower application. It stayed perfect after that.
Step-by-Step Guide to a Smooth Installation
Step 1: Clean the Glass Surface
Use a soft cloth and water or a vinegar-water mix to clean the outside back panel of your aquarium. Make sure it’s completely dry before applying anything. This step is non-negotiable. Dust or oil will ruin the look.
Step 2: Measure and Cut
Measure the exact width and height of your tank’s back panel. Then cut your background material slightly larger to avoid gaps. Lay it out flat for a few hours if it came rolled.
Step 3: Apply Slowly and Steadily
Peel off the adhesive bit by bit. Start applying from one corner, working your way across. Smooth it as you go using a soft cloth, ruler edge, or credit card. Go slow to prevent bubbles or wrinkles.
Step 4: Remove Bubbles
If bubbles appear, gently lift that section and reapply. For small trapped bubbles, use a pin to poke a tiny hole and press the air out.
Step 5: Trim the Edges
Once everything is in place, trim any excess carefully. Make sure the background doesn’t stick out beyond the tank edges.
Step 6: Let it Set
Give the film some time to settle before moving the tank. For 3D backgrounds, follow the manufacturer’s guidelines, especially if silicone or clips are involved.
Can I Use Adhesive to Apply an Aquarium Background?

Yes, and it’s actually the most popular method for most hobbyists. Adhesive backgrounds are clean, smooth, and easy to manage.
Why I Keep Coming Back to Adhesive
Even after trying 3D and painted backgrounds, adhesive is still my go-to for quick upgrades. It’s especially great when setting up a new tank. I recently used one with a rock pattern for my cichlid tank, and it added instant depth without any mess or effort.
You can remove and replace them anytime without disturbing the tank setup, which makes it super convenient.
Benefits of Adhesive Backgrounds
They’re waterproof and made to last. Most come in high-resolution prints and a wide range of styles. You don’t need special tools or skills to install them. And once they’re up, you don’t even notice they’re just a thin layer.
What You Should Know
Adhesive films may peel at the corners if not applied correctly. Heat and humidity can affect them, especially if the room gets too warm. They also don’t add physical texture like 3D backgrounds, so if you want something truly immersive, consider that difference.
But for most setups, especially community tanks or beginners, adhesive films are a solid, low-hassle choice.
What Materials Are Best for Aquarium Backgrounds?
The best materials for aquarium backgrounds are ones that balance durability, visual appeal, and ease of use. You also want to make sure the background is safe and suitable for a moist environment.
Why Material Matters More Than I Thought
I used to think any background would do, as long as it looked nice. But after trying out several options; some that peeled, warped, or just didn’t look right, I realized the material you choose makes a big difference. It’s not just about looks. It’s about how long it lasts, how it fits your setup, and how much work it takes to maintain.
Plastic Backgrounds
Plastic backgrounds are reliable and easy to manage. They’re usually printed with high-quality scenes and are waterproof by design.
In one of my older tanks, I used a plastic background that looked like a rocky riverbed. It held up for years without fading. The colors stayed sharp, even with sunlight hitting the tank during the day. Plus, applying it was simple just tape or slide it behind the tank glass.
If you want something hassle-free and long-lasting, plastic is a safe choice.
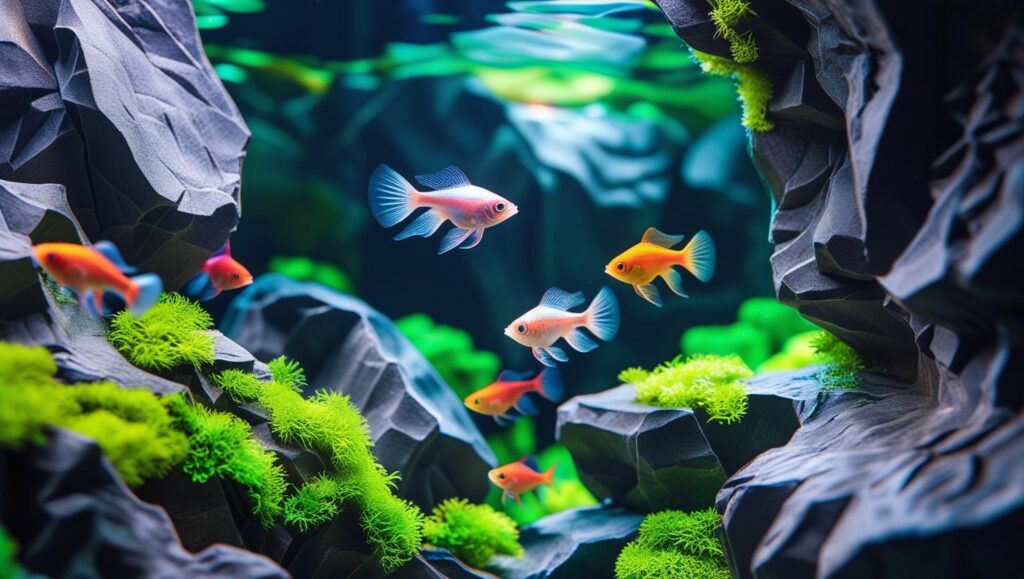
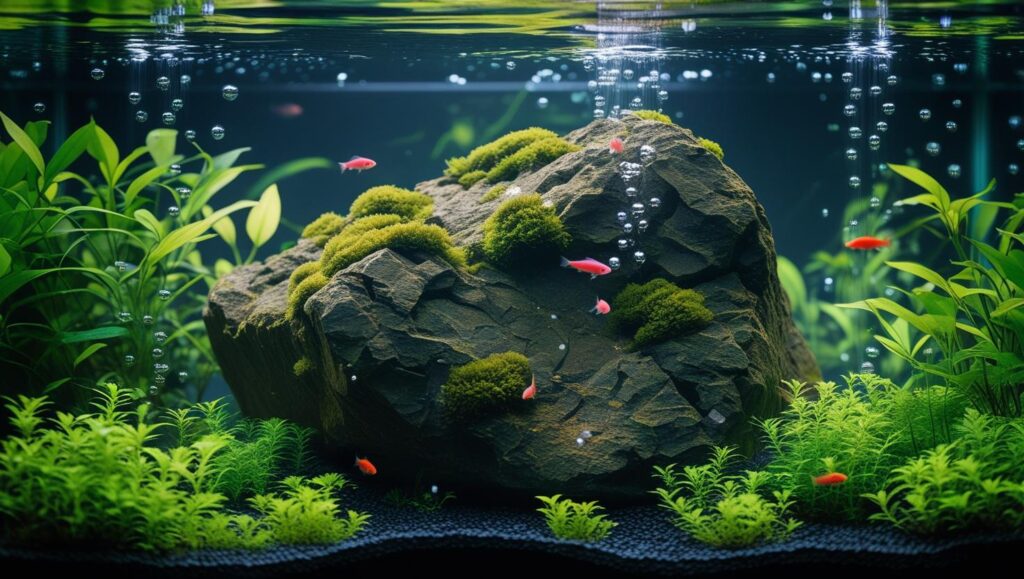
Foam Backgrounds
Foam gives your tank a 3D effect that really stands out. It adds depth and realism that flat prints can’t match.
When I upgraded to a larger tank, I invested in a textured foam background. It was designed to look like stacked rocks and tree roots. At first, I was nervous about the installation, but it turned out easier than expected. The foam was lightweight, and I used aquarium-safe silicone to stick it in place. It transformed the tank completely. My fish explored every nook, and it made the tank feel more alive.
Foam backgrounds are perfect if you want a natural, layered look.
Paper Backgrounds
Paper is the most affordable option, but it comes with some trade-offs.
I used a paper background once on a spare shrimp tank. It was easy to tape on, but after a couple of months, the edges started to curl. A little humidity is all it takes. The print also faded faster than I expected.
Still, if you’re working with a tight budget or setting up a temporary tank, paper can be a quick fix.
Glass Backgrounds
Some high-end tanks come with painted glass backs or you can custom-install a frosted glass sheet.
I haven’t used a full glass background myself, but I’ve seen them in a friend’s aquascaped setups. They look clean and modern; especially when paired with minimalist designs. They’re waterproof, easy to clean, and create a glossy, professional feel.
If you want a sleek, upscale look, glass is a great material to consider.
Vinyl Backgrounds
Vinyl backgrounds are similar to adhesive plastic, but the quality often feels a bit higher. They’re flexible, water-resistant, and come in many different styles.
I switched to a vinyl background for my betta tank. It had a soft gradient of deep blue to black, and it made the fish’s colors pop like never before. It was super easy to install and didn’t bubble like cheaper materials often do.
If you want flexibility, easy application, and a high-end finish, vinyl is a strong option.
How to Create a DIY Aquarium Background

Creating your own aquarium background can be a fun and personal project. It’s also a great way to make your tank truly one-of-a-kind.
My First DIY Project (And the Mistakes I Made)
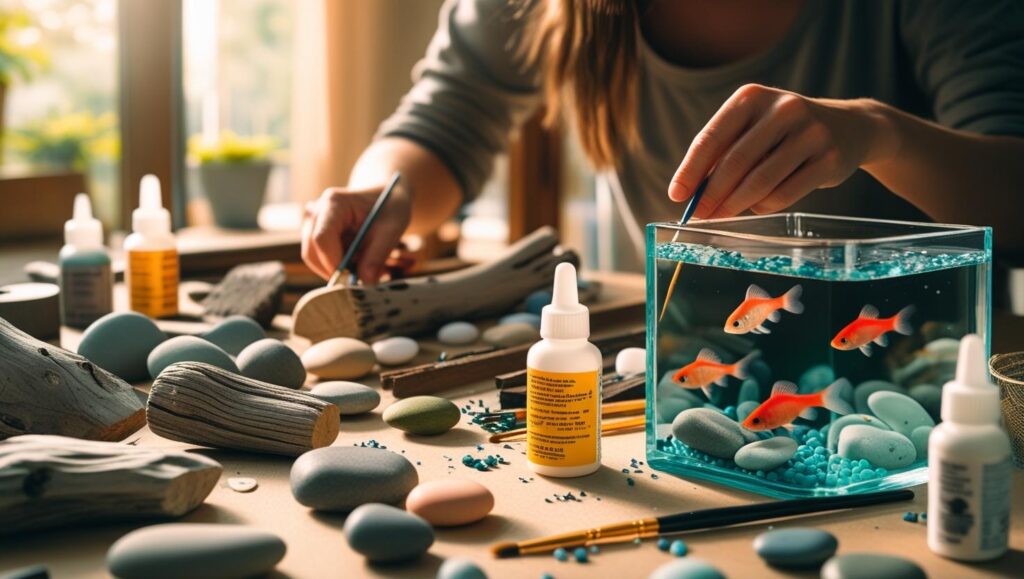
I wanted to do something special for a natural-themed tank, so I decided to make a background from scratch. I used foam panels, river stones, and some driftwood I found during a weekend hike. It took an entire day to put together, but the result was worth it.
The only thing I got wrong? I didn’t let the paint cure fully before installing it. The smell lingered for days. Now I always allow a full 48 hours to dry.
What You’ll Need
You don’t need fancy tools. Here’s what I used:
- Foam sheets or thin plywood
- Non-toxic, water-based paint
- Natural decorations like small rocks or driftwood
- Aquarium-safe silicone adhesive
Step-by-Step Guide
Step 1: Build Your Base
Measure the back of your tank and cut foam or plywood to fit. This is the foundation.
Step 2: Add Texture
Use silicone to attach rocks, driftwood, or even crushed coral for detail. Press everything firmly and let it dry.
Step 3: Paint It
Choose safe, water-based paint. Earthy tones work great. I used browns, blacks, and a little mossy green. Let it dry completely; don’t rush this step.
Step 4: Install with Care
Once dry, place the background into the tank and seal it using silicone if needed. Let it cure before adding water.
DIY backgrounds take time but give you total creative control. And you’ll feel proud every time you look at your tank.
Is It Better to Apply the Background Before or After Setup?
Apply your aquarium background before setting up the tank. Always.
I Learned This the Hard Way
I once set up a tank completely, gravel, plants, fish. then decided to add a background. Big mistake. Moving the tank away from the wall with water inside was risky and messy. I had to get help to lift it just to squeeze a background in.
Now, I always apply backgrounds first. It’s safer, cleaner, and so much easier to align everything when the tank is empty.
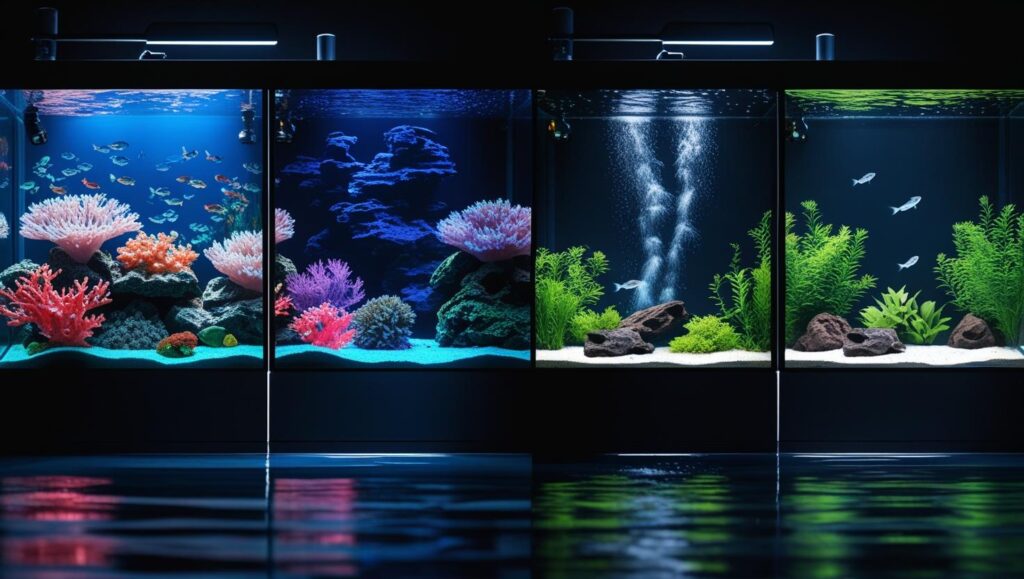
What Are Some Creative Aquarium Background Ideas?
Looking to go beyond the usual designs? Here are some ideas I’ve seen, or tried myself, that really stood out.
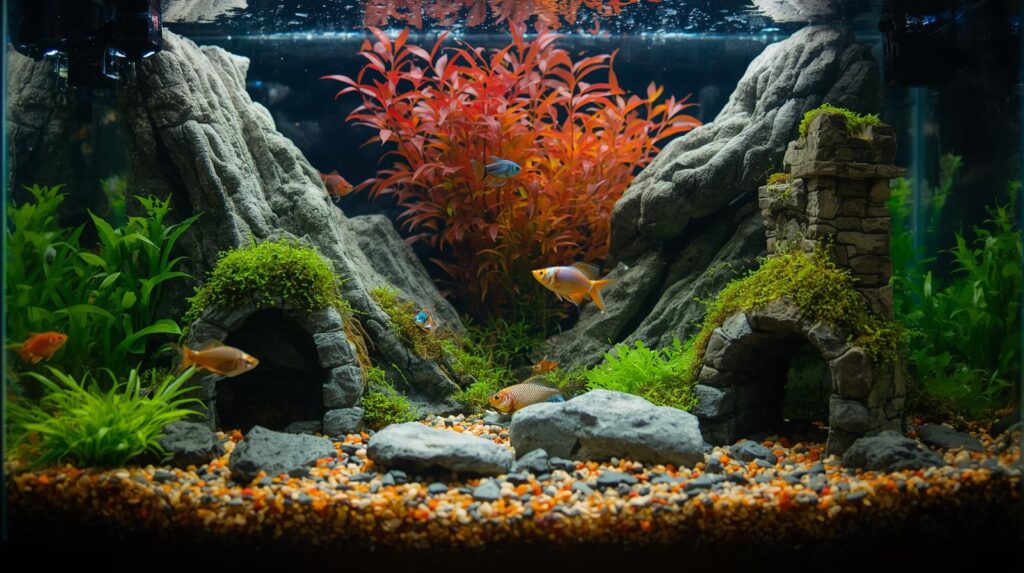
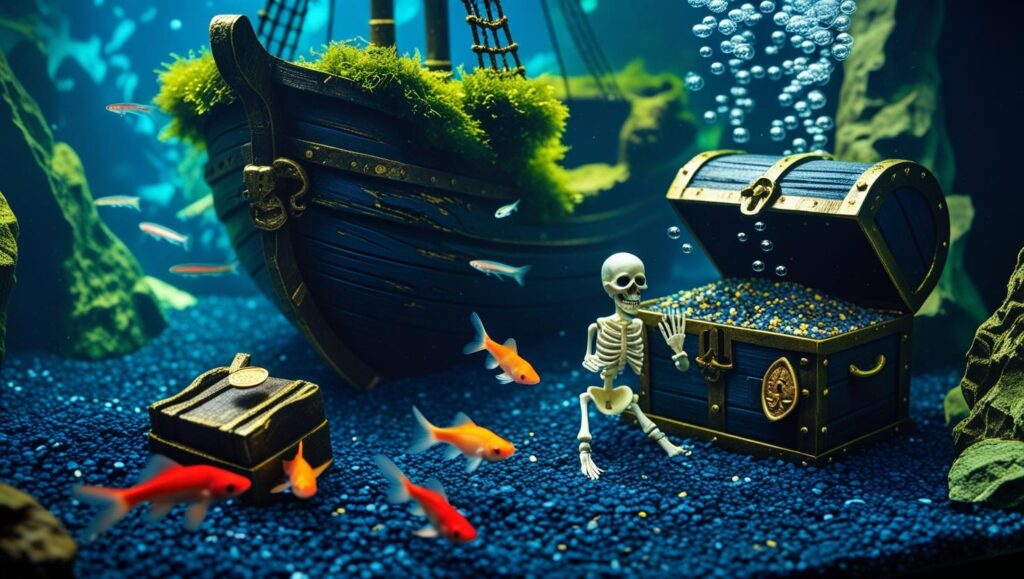
Underwater Ruins
This was one of my favorite setups. I used broken ceramic pieces and created a “lost temple” vibe behind a 3D rock background. It looked like an ancient city underwater. My cichlids loved the caves and hiding spots.
Jungle Scene
For my planted tank, I added a background filled with tall aquatic plants. It blended so well with the real plants in front, you couldn’t tell where the print ended and the real thing began.
DIY Riverbank
A friend of mine made a DIY background using sand-textured paint, slate, and driftwood. It looked like a natural river edge. Simple materials, but the effect was beautiful.
Let your creativity guide you. Match your theme to your fish’s natural habitat and watch them thrive.
How to Remove and Replace an Aquarium Background
Changing your aquarium background isn’t hard. Just be gentle and patient.
What I Did Last Time I Switched
I wanted to change a dark rock background to a lighter plant scene. I used a hairdryer on low heat to loosen the adhesive. After a few minutes, it peeled off easily. Then I cleaned the glass with vinegar and water to remove leftover glue.
Easy Replacement Process
- Gently peel off the old background. If it’s stubborn, apply light heat to soften the adhesive.
- Clean the glass. A clean surface ensures the new background sticks properly.
- Apply your new background. Follow the same steps you’d use for installing it from scratch.
It’s a quick refresh that can completely change how your tank feels.
My Final Thought
Wrapping up, choosing and applying the right aquarium background isn’t just about looks, it’s about creating a cozy, beautiful home where your fish can truly thrive. You’ve learned how different materials and styles can bring your tank to life in unique ways, and why taking the time to do it right makes all the difference. Remember, your aquarium is more than just water and fish, it’s a little world you’re building, piece by piece. So, take a deep breath, trust your instincts, and give your tank that perfect backdrop it deserves. Your fish, and your eyes, will thank you for it.
The Essential FAQ Guide to Aquarium Backgrounds
Can I use regular tape to attach a paper background?
Regular tape isn’t ideal; it may peel or damage the paper. Use double-sided tape or aquarium-safe adhesives for better hold and durability.
How often should I replace my aquarium background?
Replace backgrounds when they fade, peel, or get damaged. With good care, adhesive or 3D backgrounds can last several years.
Will the background affect water quality?
No, as long as you use aquarium-safe materials and adhesives, backgrounds won’t impact water quality or harm your fish.
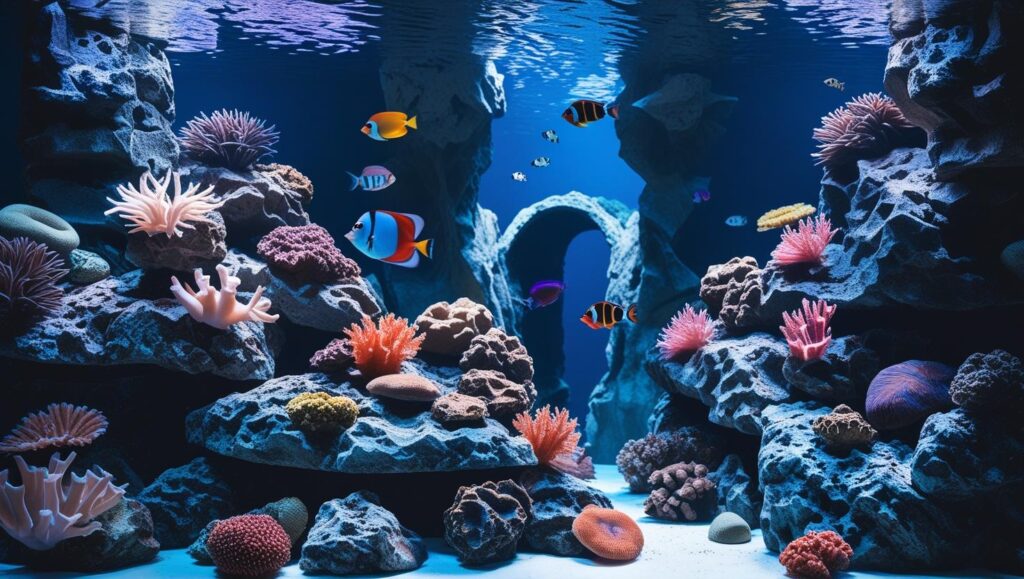
Can I use a background on all types of aquariums?
Yes, backgrounds work on freshwater, saltwater, planted, and community tanks—just choose a style that suits your setup.
Is it okay to apply background inside the tank?
Generally, backgrounds go outside to avoid damage and algae buildup. Some 3D backgrounds are designed for inside, but check manufacturer instructions.
Can I customize adhesive backgrounds with my own photos?
Yes! Many services allow custom prints on adhesive films so you can personalize your aquarium background.
How do I prevent air bubbles during application?
Clean the surface thoroughly and apply slowly, smoothing with a soft cloth or card from center outward to push out air bubbles.
Are 3D backgrounds harder to clean?
They require gentle cleaning but don’t trap debris more than natural tank decorations. Use a soft brush to avoid damage.
Can backgrounds fade under strong aquarium lighting?
Some printed backgrounds may fade over time with intense light exposure. Choose UV-resistant materials for longer-lasting color.
Will a dark background stress my fish?
No, many fish feel safer with darker backgrounds because they reduce reflections and create a natural environment.