DIY Aquarium Background Ideas: Step-by-Step Tutorials for Stunning Aquariums

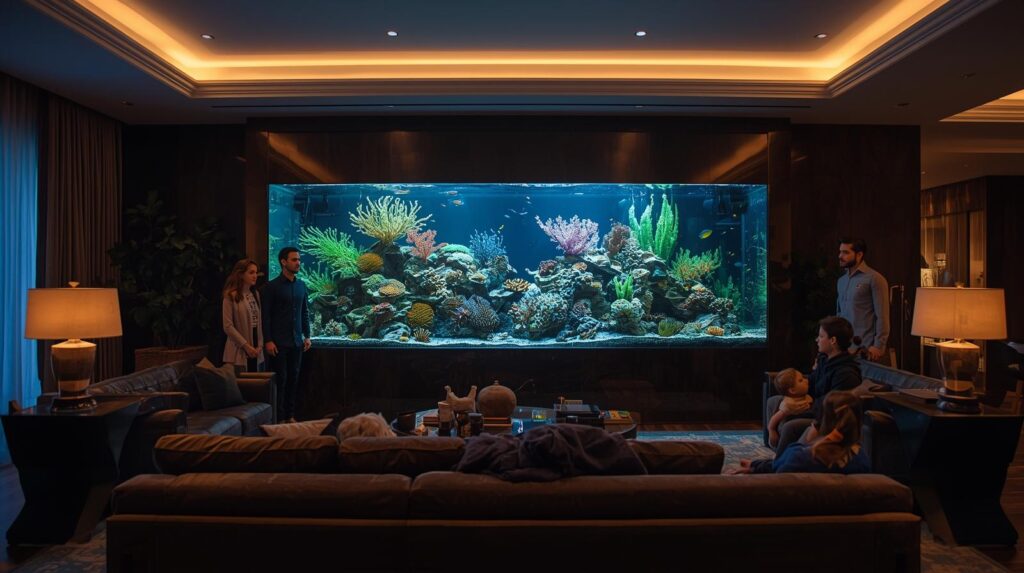
If you’ve ever stood in front of an aquarium, mesmerized by the swaying plants, the shimmering fish, and the peaceful underwater world, you’ve probably thought, “How can I make my own aquarium look just as stunning?” One of the best ways to elevate your aquarium is by customizing the background. Imagine being able to create a personalized underwater landscape, where you control every detail no more boring, generic backgrounds. Whether you’re a beginner or an experienced hobbyist, designing your own DIY aquarium background is a fun and rewarding project. Plus, it’s a great way to make your tank truly unique.
In this article, we’ll walk through various DIY aquarium background ideas and step-by-step tutorials that will help you transform your aquarium into a vibrant, custom-designed aquatic world. Whether you’re looking to add a lush green jungle, a rocky cavern, or a dramatic 3D effect, we’ve got you covered. And just to make this feel more like a friendly chat, I’ll share my personal experiences and tips to make your project smoother. Let’s dive in!
Why DIY Aquarium Backgrounds Are So Popular

Creating a DIY aquarium background is a fantastic way to personalise your fish tank. It’s not just about aesthetics; it also impacts the well-being of your aquatic life. A thoughtfully designed background can reduce stress for your fish by providing hiding spots and natural visual barriers. Additionally, it can help create a more immersive environment, making the aquarium feel like a mini ecosystem rather than just a glass box.
For me, the decision to create a DIY aquarium background came from a desire to make my tank feel more alive. After months of using a simple plastic background that came with the aquarium kit, I felt like my fish were missing out on the opportunity to thrive in a more enriched environment. Plus, I was growing tired of the same old boring look.
It was a bit intimidating at first—thinking about how to create something visually striking and functional but as I started working on it, I realised how fun and fulfilling the process was. The best part? It’s not as hard as it may seem, and the results can be incredibly rewarding.
What Materials and Techniques Are Best for Your DIY Aquarium Background?
When it comes to creating your DIY aquarium background, the choice of materials and techniques plays a significant role in determining the final look and durability. Not all materials are created equal, and some may be better suited for specific designs or tank types. Let’s break it down using a table to compare some of the most common materials and techniques for creating aquarium backgrounds.
| Material/Technique | Best For | Pros | Cons |
| Styrofoam/Foam Sheets | 3D designs (rocks, caves) | Lightweight, easy to carve, customizable | Can absorb moisture if not sealed |
| Cement or Plaster | Permanent, durable designs | Long-lasting, sturdy | Heavy, takes longer to dry |
| PVC Pipes | Tunnels, hiding spots | Easy to work with, functional | Can look artificial if not decorated well |
| Acrylic Paint | Coloring and detailing | Quick-drying, aquarium-safe | Needs multiple coats |
When I first started, I didn’t realise how many different options were available. I thought I’d just slap a piece of cardboard or a plastic sheet against the back, but it turns out there’s a whole world of materials and methods out there for getting creative with your tank’s background. Each material has its pros and cons, and some may be more suited for different types of designs, but after experimenting with a few, I found my perfect combination.
How to Design a Simple DIY Aquarium Background With 4 Easy Steps

Creating a DIY aquarium background doesn’t require a degree in art or architecture. With just a little planning, you can create something that looks great and adds personality to your tank. Here’s how I did it, and how you can too!
1. Choose the Style That Fits Your Aquarium
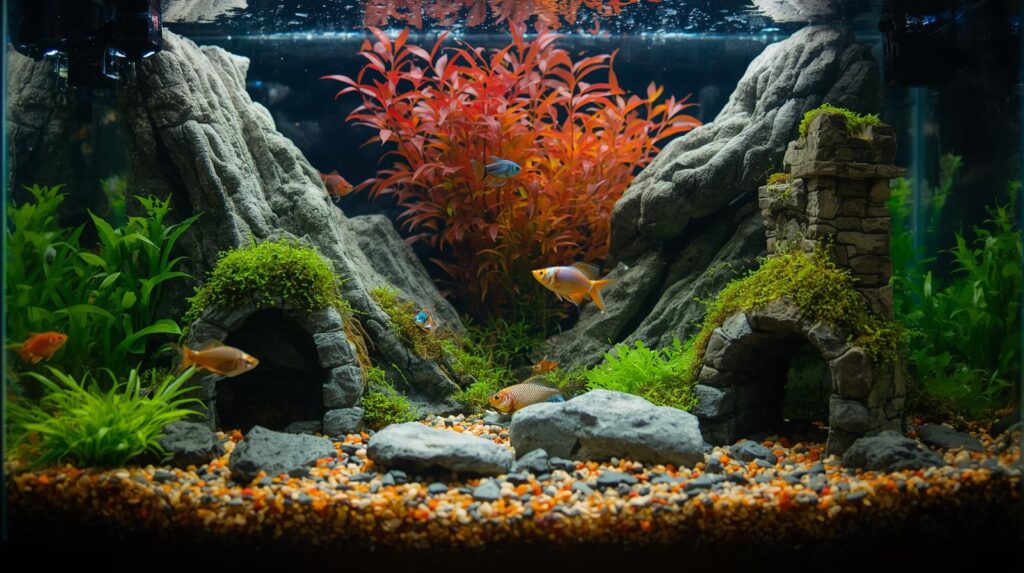
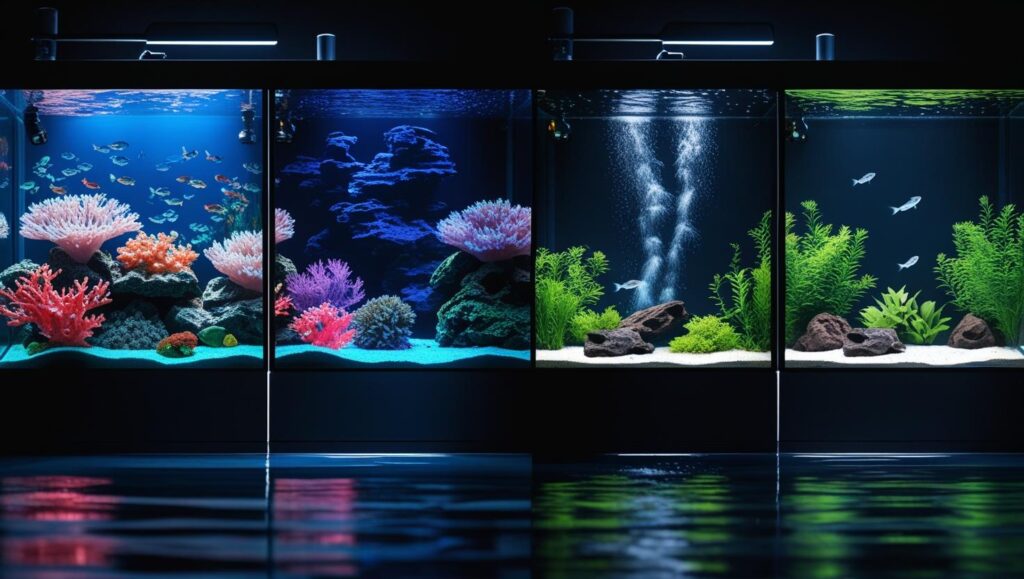
First things first, think about the overall theme you want to achieve. Are you aiming for something natural, like a rock-filled cave? Or perhaps something more exotic, like a coral reef? Your aquarium’s theme will guide the design process. For example, if you’re keeping freshwater fish, a lush jungle-like background with plants and moss can work wonders. If you have saltwater fish, a coral-inspired theme might be a better fit.
I went with a rocky theme for my tank because I wanted a more structured look that could also provide hiding spots for my fish. This made the design process more focused, and I could easily narrow down the materials I’d need.
2. Measure Your Aquarium’s Dimensions
To ensure your DIY aquarium background fits perfectly, measure the back panel of your tank. You’ll want to know the height and width, plus any depth if you’re adding a 3D effect. If you’re unsure of your measurements, it’s always better to overestimate cutting down material is easier than adding extra.
For my first attempt, I overestimated the size and ended up with a background that didn’t quite fit the first time. But this turned out to be a blessing in disguise because it gave me the chance to try out new designs and refine my technique.
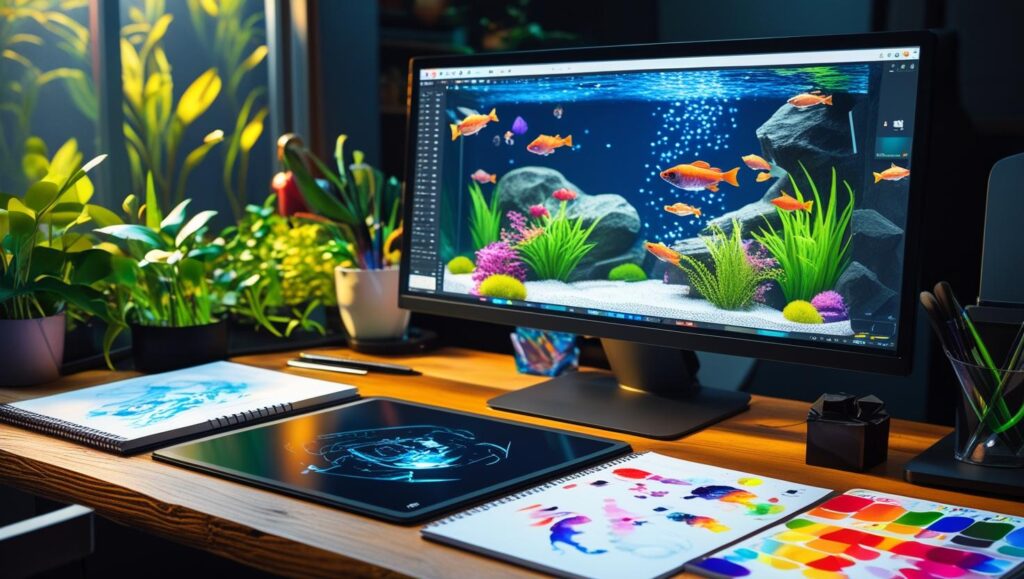
3. Create a Template or Sketch Your Design
Now comes the fun part designing! You can either freehand it or create a template to follow. If you’re not comfortable with sketching, you can always find inspiration online or take a look at other aquarium setups. A great tip is to think about how your background will look from both the front and side views. I created a rough sketch of where I wanted caves, crevices, and flat surfaces for plants to grow. This made the process feel like assembling a puzzle.
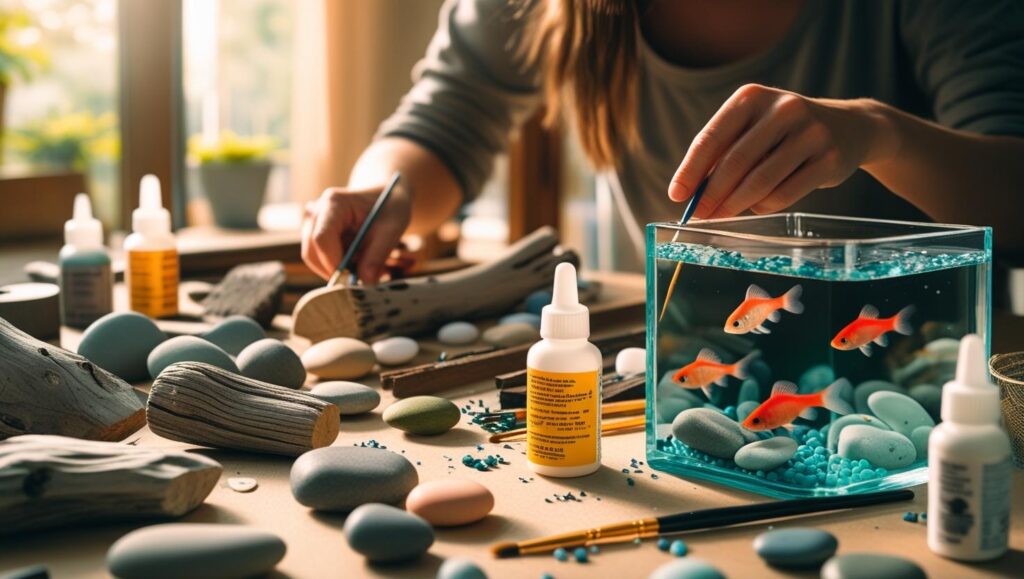
4. Start Building Your Background
Once you have your template ready, it’s time to get to work. For a basic design, cut the foam or plaster into the necessary shapes. Then, start assembling your background piece by piece, using the hot glue gun to hold everything in place. For more 3D effects, carve out details like cracks, grooves, and textures. I used a small knife to carve into the foam, adding texture that would give it a more realistic look.
Can You Really Make a 3D Background for Your Aquarium?

Absolutely! One of the coolest trends in DIY aquarium backgrounds is creating 3D designs. These backgrounds add a dramatic effect, making your tank feel like an entire underwater world rather than just a shallow box.
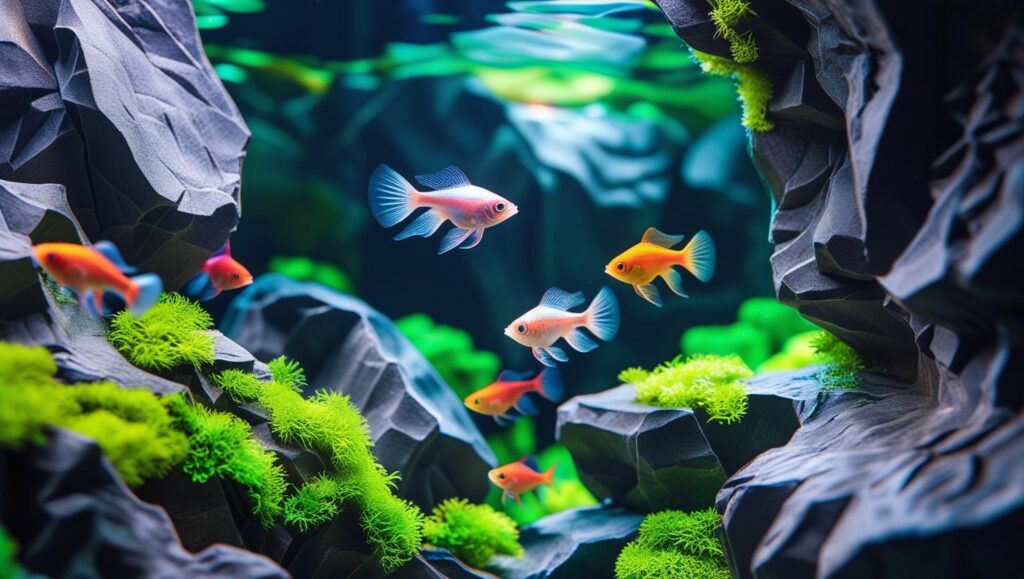
To create a 3D aquarium background, I used Styrofoam as my base material. After cutting it into the right shape, I carved it into rock-like textures. For added depth, I glued some larger pieces together, leaving spaces between them to create crevices and caves. Once that was done, I painted it with aquarium-safe acrylic paint, paying attention to detail to make sure it looked as natural as possible.
The result? A background that looked as if it belonged in a hidden cavern deep under the sea. It wasn’t just a background; it became a part of the aquarium’s ecosystem, providing shelter for my fish while enhancing the overall aesthetic.
How to Add Plants and Decorative Features
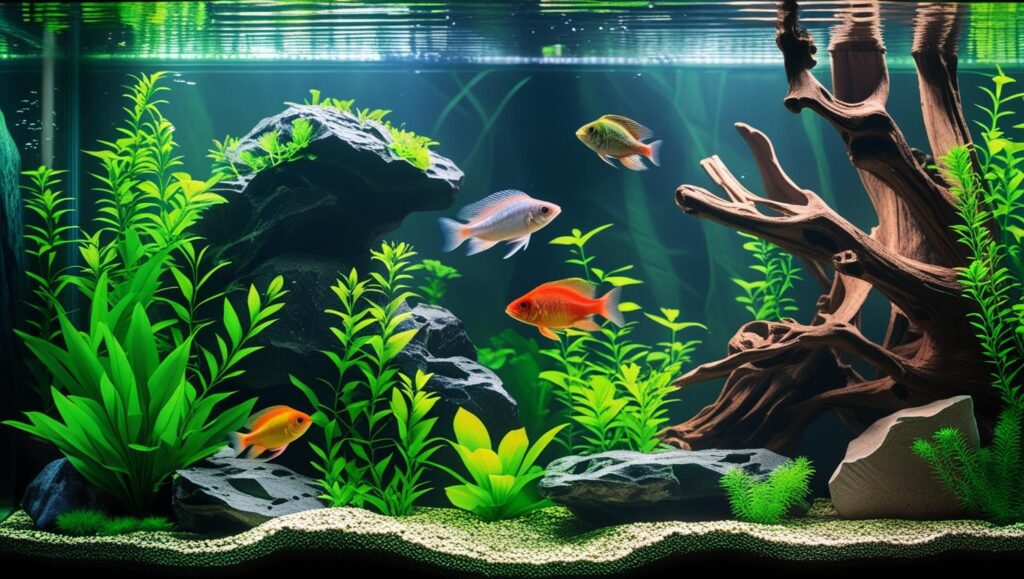
Once your basic background is done, you can add some flair with plants and other features. You can either use real plants, which will need maintenance, or go for artificial ones. I personally chose to add both—live plants for their natural beauty and fake plants for some extra color and texture.
Adding accessories like PVC pipes for tunnels, shells for a beach-like vibe, or driftwood for a more rustic look can really bring your background to life. I added a small cave-like structure using some leftover rocks, and my fish loved swimming through it!
How Long Does a DIY Aquarium Background Last?
If you properly seal and maintain your DIY aquarium background, it can last a long time. The background I made over a year ago is still going strong, and my fish are thriving in it. With regular cleaning and occasional touch-ups (like adding more plants or fixing any paint chips), you can keep it looking fresh.
A DIY Aquarium Background That Reflects Your Style
Creating a DIY aquarium background is a rewarding project that allows you to show off your creativity while providing a healthier environment for your fish. Whether you choose a simple design or go all-out with a 3D setup, the key is to think about what will make your tank not just look good, but also serve the needs of your aquatic life.
Remember, it’s not about perfection; it’s about crafting something that feels right for your tank. Your fish will love having more places to hide, explore, and relax in, and you’ll enjoy the process of bringing your vision to life. Just take it one step at a time, and before you know it, you’ll have a beautiful, custom aquarium background that’s all your own.
Frequently Asked Questions (FAQ)
- What is the best material for a DIY aquarium background?
The best material depends on the look you want. Foam is great for 3D designs, while cement provides durability. PVC pipes are excellent for creating tunnels, and acrylic paint adds detailed color to your design. - How do I ensure my DIY aquarium background is safe for fish?
Use aquarium-safe materials like silicone and non-toxic paints. Always seal foam or plaster properly to avoid releasing harmful chemicals into the water. - Can I create a 3D background for my aquarium?
Yes! Styrofoam is a popular choice for creating 3D effects, allowing you to carve textures like rocks or caves. Be sure to seal it with aquarium-safe materials. - How do I secure the background to my aquarium?
Use aquarium-safe silicone to glue your background to the glass. This ensures it stays in place without harming your fish. - Do I need to add plants to my DIY background?
Plants are optional but can enhance the look and provide hiding spots for your fish. You can use either real or artificial plants, depending on your preference and tank type. - How long will a DIY aquarium background last?
With proper care and sealing, a DIY aquarium background can last for years. Regular cleaning and occasional touch-ups will help maintain its appearance. - Can I use real plants in my DIY background?
Absolutely! Real plants add natural beauty and help oxygenate the water. Just make sure to provide the right lighting and nutrients for their growth. - How do I paint my DIY aquarium background?
Use aquarium-safe acrylic paints. Apply multiple thin layers for best results, and seal it once the paint is dry to ensure it’s safe for your fish. - Can I make a background for a saltwater aquarium?
Yes! For saltwater aquariums, consider using cement or plaster for a more durable background. Ensure all materials are safe for marine environments. - What are some beginner-friendly tips for DIY aquarium backgrounds?
Start simple! Foam sheets and acrylic paint are easy to work with. Begin with a basic design and gradually add details as you gain confidence.