How to Create a Magical Nemo Aquarium Setup at Home
Ever dreamed of turning your fish tank into a scene straight out of Finding Nemo? Whether you’re setting it up for your kids or reliving the magic yourself, a Nemo-themed aquarium background brings that familiar underwater charm to life. But not all backgrounds are created equal, some fade quickly, peel off, or simply don’t capture the magic. If you’re looking to create an aquarium that feels like a real slice of the reef, you’re in the right place. In this post, I’ll walk you through how to choose a high-quality Nemo background that’s vibrant, durable, and guaranteed to bring smiles.
What Is a Nemo Aquarium Background?
A Nemo aquarium background is a decorative image that features characters and scenes from Finding Nemo. It lines the back of your fish tank and instantly makes your aquarium look like an underwater world from the movie. You’ll see familiar faces like Nemo, Dory, Marlin, and even Bruce the shark. These backgrounds are bright, colorful, and full of charm.
Most are printed on waterproof vinyl or plastic. Some cling to the back of the glass, while others use light adhesive or are just placed behind the tank. They’re simple to install and work well in both freshwater and tropical tanks. The bold colors and animated designs really stand out against gravel, plants, and fish.
When I first set up a small tank for my nephew’s birthday, I chose a Nemo-themed background on a whim. He had just watched the movie and was obsessed with Dory. I didn’t expect much, but the moment we slid the background behind the tank, everything changed. His eyes lit up, and suddenly the plain little aquarium looked like something out of a storybook. It felt alive.
Since then, I’ve helped friends and family add these backgrounds to tanks in kids’ rooms, classrooms, and even home offices. Every time, the reaction is the same — smiles, excitement, and a little bit of magic.
Why Choose a Finding Nemo Themed Background for Your Fish Tank?
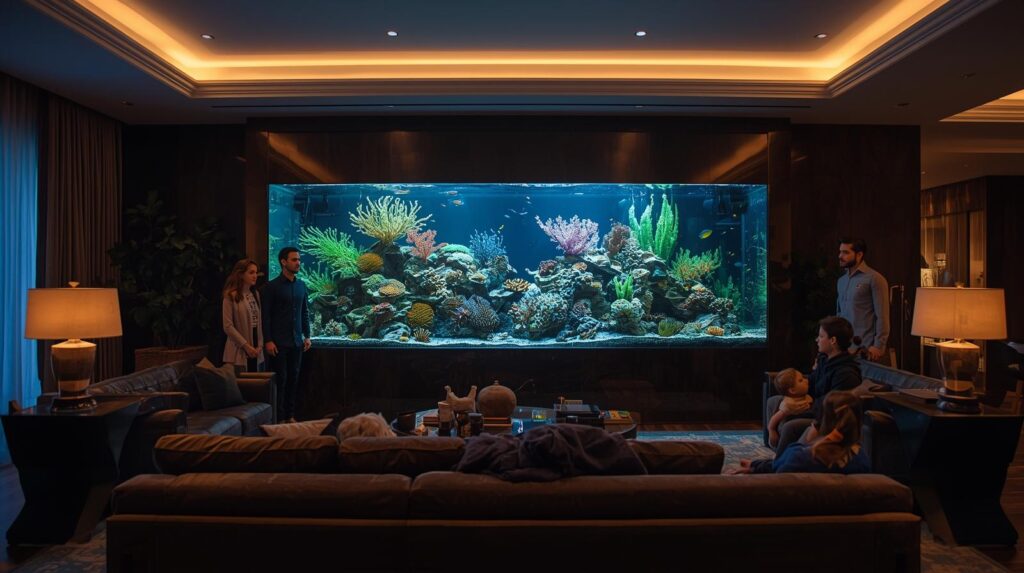
A Nemo aquarium background does more than decorate your tank. It turns it into an experience. Kids instantly connect with the characters. Adults feel a gentle tug of nostalgia. It invites curiosity and playfulness into the room.
When I added that first background, my nephew wanted to feed the fish every morning. He asked questions about real clownfish and how they lived. He even named one of our guppies “Nemo” and the other “not Nemo.” Watching him bond with the tank made me realize how powerful a simple backdrop can be.
The ocean theme helps bring everything together. Blue gravel, soft coral ornaments, and a few brightly colored fish make the whole setup look intentional. And it doesn’t take a lot of work or money to get it right.
If you’re setting up a tank for a child, a classroom, or just want to add a spark of personality to your space, a Nemo background is a warm, creative choice. It encourages interaction, sparks learning, and adds heart to your aquarium.
Is a Nemo Aquarium Background Safe for Real Fish?
Yes, a Nemo aquarium background is safe for your fish, as long as you choose one made with aquarium-friendly materials. Not all backgrounds are created equal, so knowing what to look for matters.
Most Nemo-themed backgrounds are made from waterproof vinyl or PVC. These materials are designed to sit outside the tank, behind the glass, where they never come into contact with water. That makes them the safest option. If you’re considering placing one inside the tank, make sure it’s labeled as aquarium-safe and printed with non-toxic, fade-resistant inks.
When I was setting up my nephew’s tank, I almost bought a printed paper poster because it looked great. But a quick check showed it wasn’t waterproof or aquarium-rated. I’m so glad I double-checked. Instead, I went with a vinyl cling design that stuck perfectly to the outside of the glass. It looked just as good and came with peace of mind.
A few simple steps go a long way. Always clean the back glass before applying the background. This helps it stick better and prevents moisture buildup that could cause mold or bacteria. And never use a background that smells strongly of plastic or chemicals. That’s often a sign it hasn’t been treated safely for pet environments.
In the end, choosing a quality background isn’t just about looks. It’s about creating a space that’s safe, clean, and happy for your fish, and magical for anyone watching. In the next section, I’ll share how to install a Nemo aquarium background step-by-step, based on what worked best for us.
Where to Buy a Nemo Aquarium Background Online
You can buy a Nemo aquarium background online from several trusted sources. The best places offer safe materials, vibrant designs, and clear size options for different tanks. Whether you want something simple or a full themed setup, there’s something out there for you.
When I was shopping for one, I started with Amazon. It had the widest variety, but I quickly learned not to just grab the first cute option. Some listings didn’t include the size, and others looked pixelated in review photos. I spent an evening comparing designs, checking user photos, and reading comments about installation. That extra time saved me from buying something that wouldn’t have fit or lasted.
Here’s a quick breakdown of the best online options:
| Store | What You’ll Find | Tips Before Buying |
| Amazon | Wide range of static cling vinyl backdrops and full tank kits with Nemo themes | Filter by tank size. Look for real customer photos. Check for waterproofing. |
| Etsy | Handmade and custom Nemo backgrounds, including 3D textures and names | Message sellers about material type. Choose laminated prints if possible. |
| Pet Stores | Themed aquarium kits and basic backgrounds in fish supply aisles | Bring tank measurements. Ask about return options or store demos. |
I ended up ordering a static cling background from Etsy with a slightly textured coral design. It had a personal touch that made the whole tank feel more thoughtful. It arrived rolled up but flattened easily and fit the back of the tank perfectly. Installing it was actually the fun part. My nephew helped me press out the air bubbles and was so proud to see the result.
If you want something unique, Etsy’s handmade designs are a great pick. For quick delivery and lots of choices, Amazon is solid. And if you prefer to see things in person, check out local pet stores. Just make sure to measure your tank first. I almost forgot and had to delay installation while I trimmed the edges to fit.
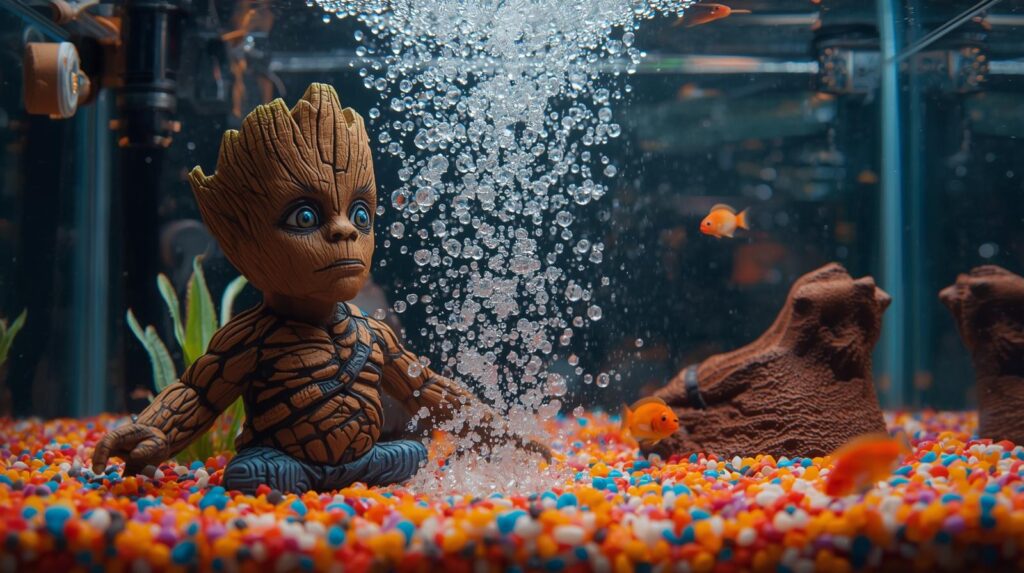
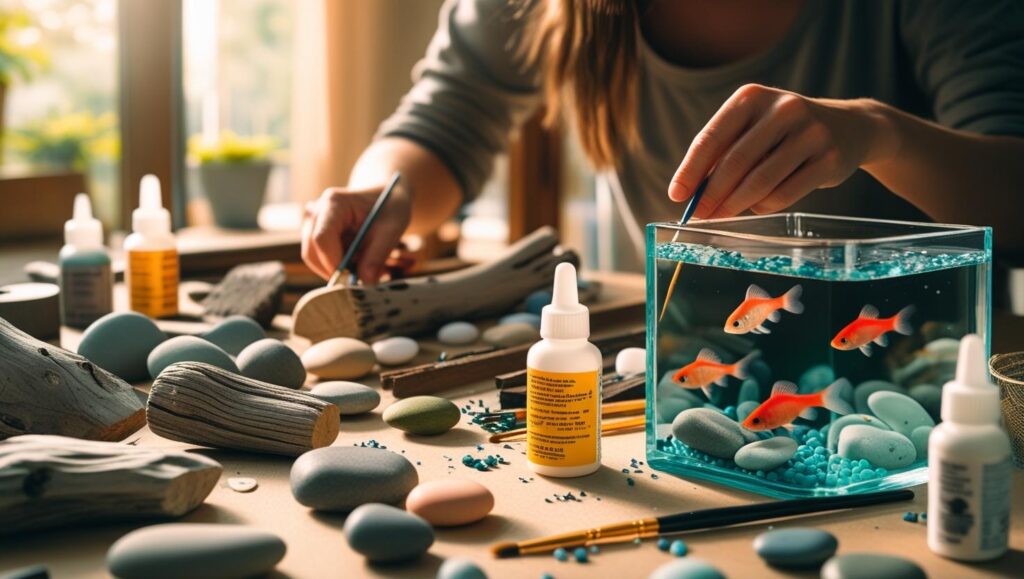
Can You Create a DIY Nemo Aquarium Background?

Yes, making a DIY Nemo background is totally doable. It can also be more affordable and fun than buying a pre-made one. If you’re creative or want to involve your kids in the project, this might be the best option for you.
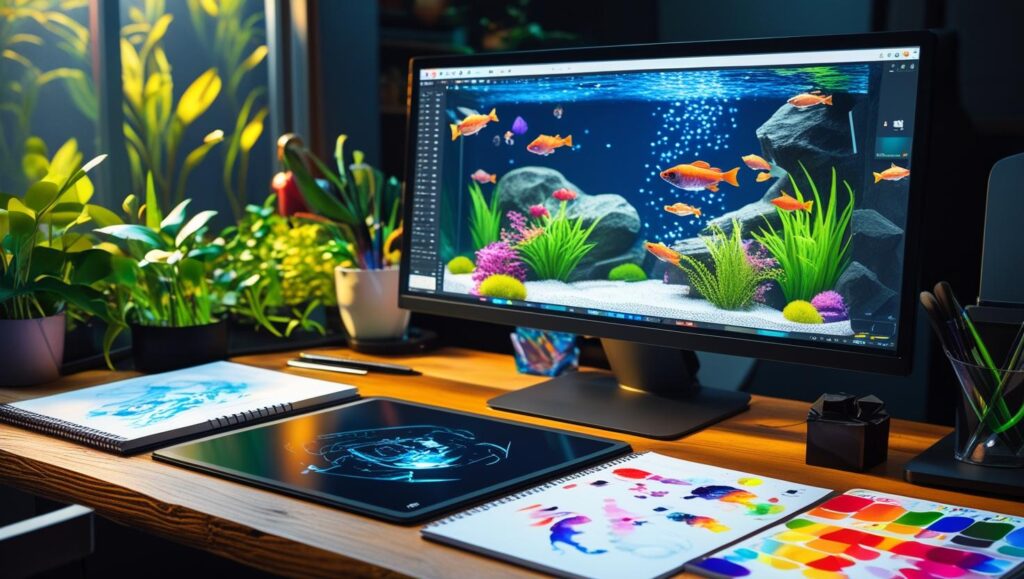
After setting up the background from Etsy, we later made a second tank for a smaller space in my nephew’s playroom. This time, we decided to try making our own. We downloaded a high-resolution Finding Nemo scene and printed it on waterproof paper at a local print shop. We laminated it for extra protection and secured it to the outside of the tank with clear tape. It turned out great and cost less than half of the pre-made version.
If you want to try a DIY route, start simple. You can use printed Nemo images, waterproof decals, or even create a custom backdrop using foam sheets and stickers. Just make sure everything stays outside the tank unless it’s labeled aquarium-safe.
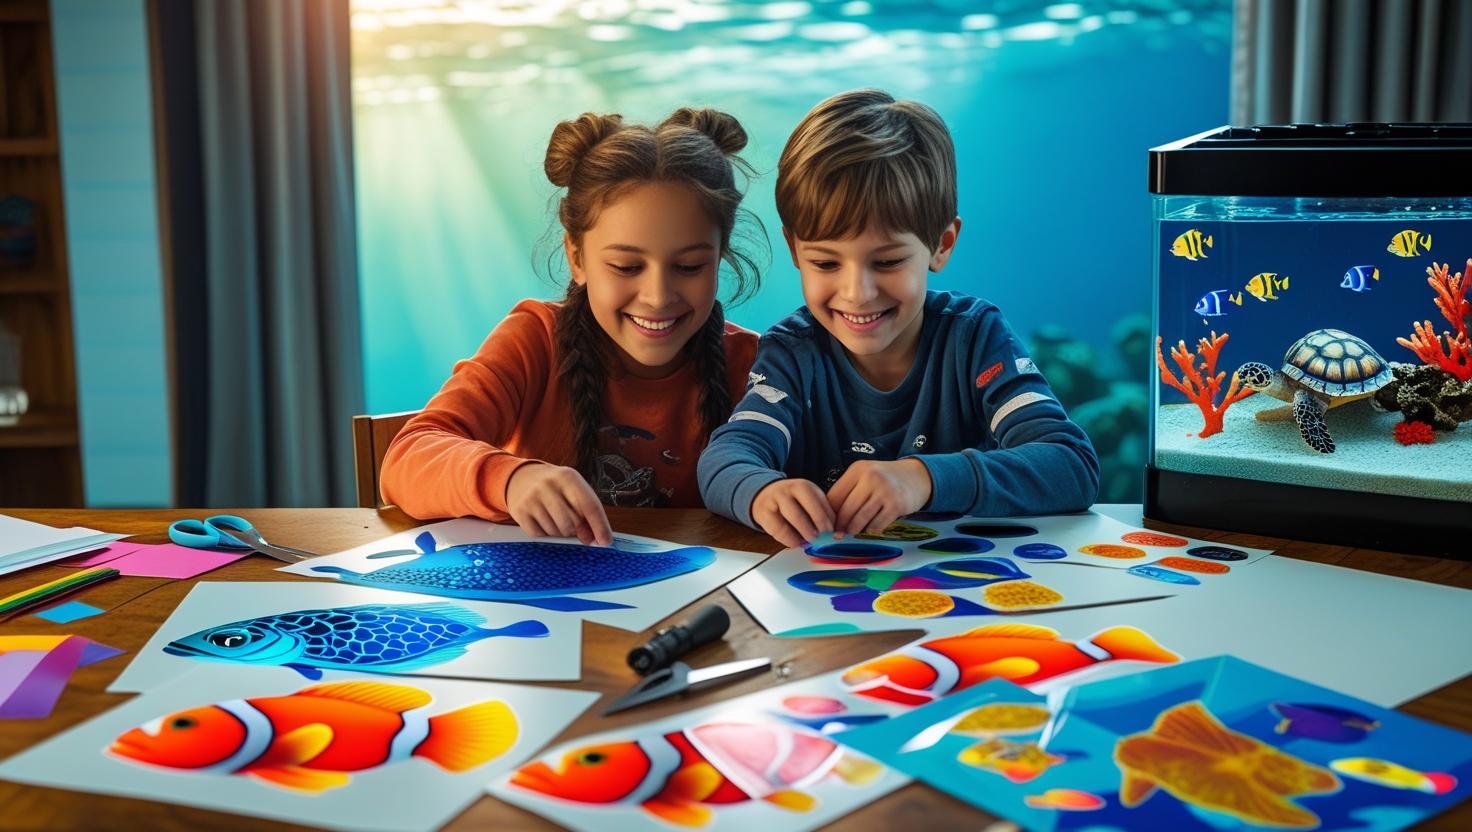
This kind of project adds a personal touch to your aquarium. And if you have kids, they’ll love helping pick characters, cut out shapes, and decorate their own underwater world. In the next section, I’ll guide you through the step-by-step process of installing your Nemo aquarium background the right way.
How to Install a Nemo Aquarium Background (Without the Headache)
Installing a Nemo aquarium background is simple when you follow the right steps. The key is to match the background type with your tank setup and take your time with the application. A smooth, bubble-free finish makes all the difference.
When I first installed one for my nephew’s tank, I honestly thought it would be as easy as taping it to the back. I quickly learned that a little extra care goes a long way. Our first attempt had air pockets and looked a bit messy. So we took it off, cleaned the glass properly, and started over. The second try was a total success. The background looked seamless, and it completely changed the vibe of the tank.
Choosing the Right Panel Placement
Exterior (Back Panel) Installation
This is the safest and most popular method. The background is placed on the outside of the tank, directly against the rear glass panel. Since it never touches water, you don’t have to worry about chemicals or wear. Most vinyl and static-cling backgrounds are made for this style. It’s also the easiest to install, especially for beginners or if kids are helping.
This is what I chose for our tank, and I recommend it unless you’re experienced or want something extra immersive.
Interior Installation
This method places the background inside the tank, directly in contact with the water. It creates a deeper, more vivid effect but requires extra caution. You’ll need waterproof materials and non-toxic, fish-safe vinyl. Internal backgrounds can be more difficult to clean and install, but the look is impressive if done right.
I considered doing this for our second tank setup, but honestly, I decided against it after reading reviews about algae buildup and peeling over time. The outside method just felt safer and less maintenance-heavy.
How to Install Your Background Step-by-Step
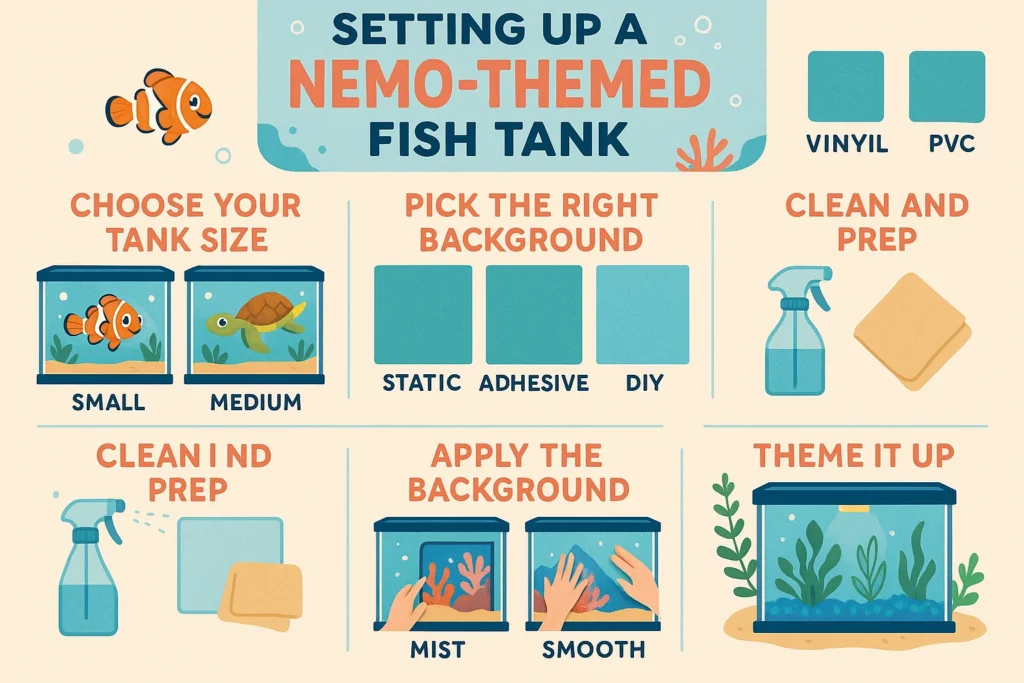
Start by cleaning the back glass of the tank. Even if it looks clean, use a gentle glass cleaner (no harsh chemicals) or a vinegar-water mix to remove dust, oils, and grime. Dry it completely with a lint-free cloth.
Next, lightly mist the glass with water mixed with a tiny drop of dish soap. This step allows you to adjust the position of the background before it sticks. Trust me, skipping this will make it harder to get it straight on your first try.
Place the background onto the glass, starting from one edge. Press gently as you go, using a credit card or a plastic squeegee to remove bubbles and smooth the surface. Start from the center and work outward. This step made all the difference for us on our second attempt.
If you’re applying the background inside the tank, wait several hours before adding water again. The vinyl needs time to adhere and dry properly to prevent peeling.
That evening, after we finally got it right, we turned on the tank light and stood back. My nephew just kept staring at it. He pointed at Nemo and Dory, telling his own version of the movie. The background didn’t just make the tank look better. It made the whole thing feel real.
Top Nemo Backgrounds for Different Aquarium Sizes
Not all Nemo backgrounds work for every tank. Choosing one that fits your tank size ensures better design flow and less trimming or waste.
For Small Tanks (10 to 20 Gallons)
If you have a small tank, stick with simple designs. Look for reef scenes with clear images of Nemo, Dory, or Squirt. These backgrounds are easier to apply and don’t overwhelm the space.
We started with a 10-gallon tank. The smaller background was easier to handle, and the simple coral design made it feel cozy. We also added a few matching stickers to the sides, which made it even more fun for my nephew.
This size works well for bettas, guppies, and tetras. Add some small blue gravel and bright plastic plants to tie the whole theme together.
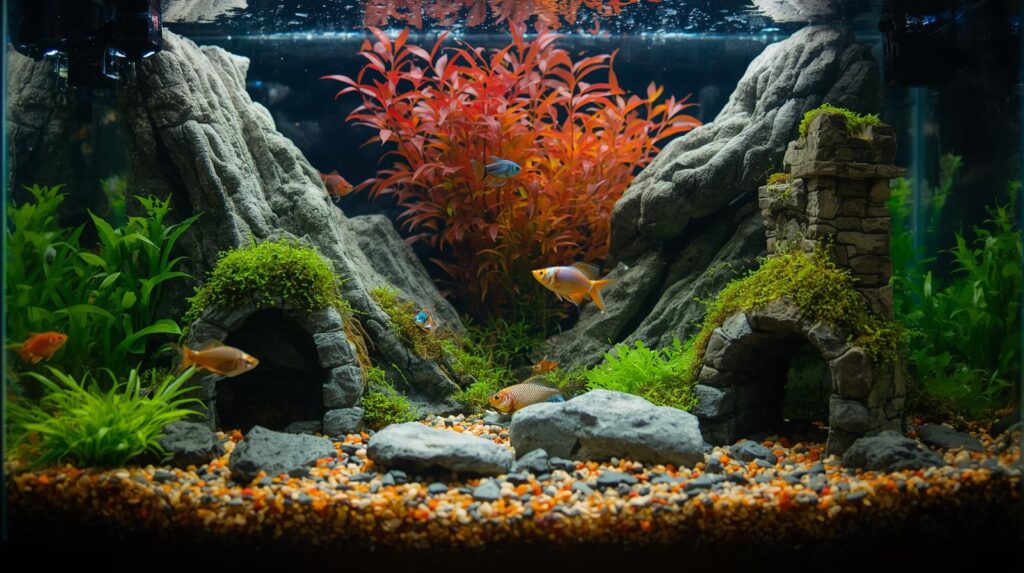
For Medium Tanks (30 to 50 Gallons)
Medium tanks can handle more detailed scenes. You’ll find backgrounds that include characters like Crush, Bruce, and entire reef landscapes. These add more depth and storytelling to the tank.
We upgraded to a 30-gallon tank a few months later. This time, we chose a full-panel reef scene. It had Marlin peeking out of an anemone and jellyfish drifting in the background. The larger scene looked cinematic and made the tank feel like a little piece of the ocean.
Pair this size with artificial coral, driftwood, or LED lights to enhance the look.
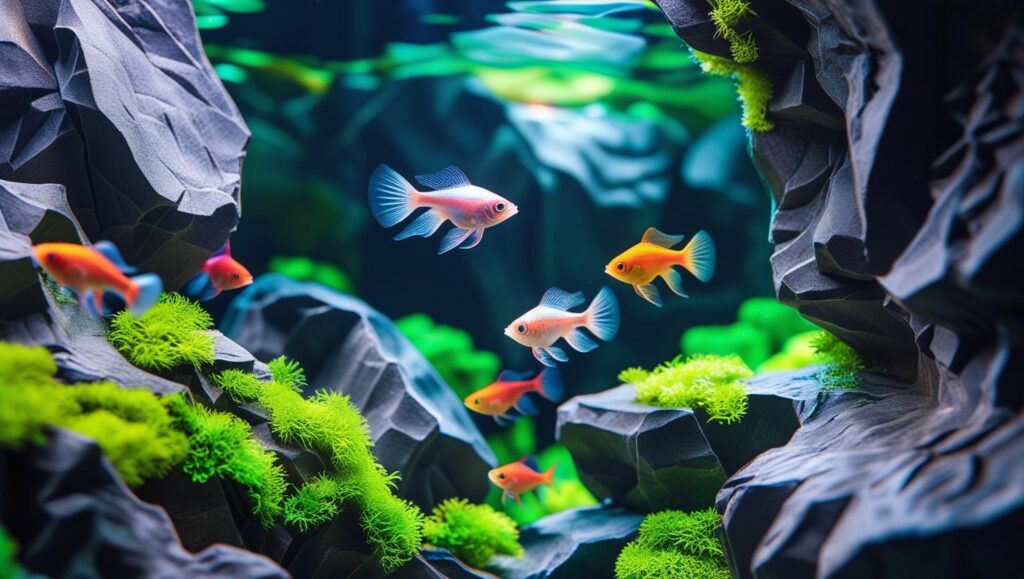
For Large Tanks (75 Gallons and Up)
Large tanks are ideal for full panoramic Nemo backgrounds. These often feature full coral cities, jellyfish forests, and groups of characters. These setups are perfect for classrooms, pediatric clinics, or anyone looking to make a big impression.
If I ever set up a tank for a waiting room or a shared family space, I’d definitely go with one of these large wraparound designs. Combined with a few 3D inserts or animated LED lights, it feels like you’re diving into the movie itself.
Larger tanks can also support more accessories like realistic sea plants, bubble wands, and lighting effects that bring the whole scene to life.
Installing a Nemo aquarium background is one of the easiest ways to transform a fish tank into something memorable. Whether it’s for your child’s room or your own love for underwater stories, it adds both charm and character.
From our first bumpy attempt to our smooth second try, we learned that taking your time makes all the difference. The result wasn’t just a better-looking tank, it became something we both felt proud of.
Final Thoughts: Dive Into the World of Nemo
Bringing a Nemo aquarium background into your tank isn’t just about decoration. It’s about creating a space that feels alive, joyful, and full of wonder, something that sparks smiles every time you walk by. You’ve learned how to choose the right size, pick safe materials, and add your own creative flair.
What makes it special isn’t just the colors or characters. It’s the experience it creates for you, your kids, or anyone who shares the space. For me, it became a way to connect with my nephew and turn an ordinary tank into a shared little world.
Nemo Tank Setup FAQs: Answers to Questions You Didn’t Know You Had
1. Can I use a Nemo background in a saltwater tank?
Yes, as long as it’s placed outside the glass and made of waterproof or non-toxic material. It won’t affect water chemistry.
2. Do Nemo backgrounds fade over time?
Some low-quality ones do. Choose UV-resistant, laminated vinyl to keep colors vibrant for years.
3. How do I remove bubbles trapped under the background?
Use a credit card or soft squeegee to push bubbles toward the edges while applying. Mist the glass lightly before placement.
4. Can I reuse a static-cling Nemo background?
Yes. If removed carefully, static-cling designs can be cleaned and reapplied on another tank.
5. Will a background affect how fish behave?
Some fish may feel more secure with a dark or detailed background. It can reduce reflections and stress.
6. Is it safe to trim the background to fit my tank?
Absolutely. Use scissors or a craft knife to cut the background to size before applying it.
7. Can I install the background on a curved tank?
Yes, but it may be harder to apply smoothly. Use flexible materials and go slowly to avoid wrinkles.
8. What’s the best lighting to enhance a Nemo background?
LED aquarium lights with adjustable brightness bring out the background’s colors without overheating the tank.
9. Do I need to remove fish before installing the background?
Not if installing outside the tank. If placing it inside, temporarily move fish for safety.
10. How do I clean a background once it’s applied?
Wipe the outside gently with a damp microfiber cloth. Avoid harsh cleaners to protect the print.